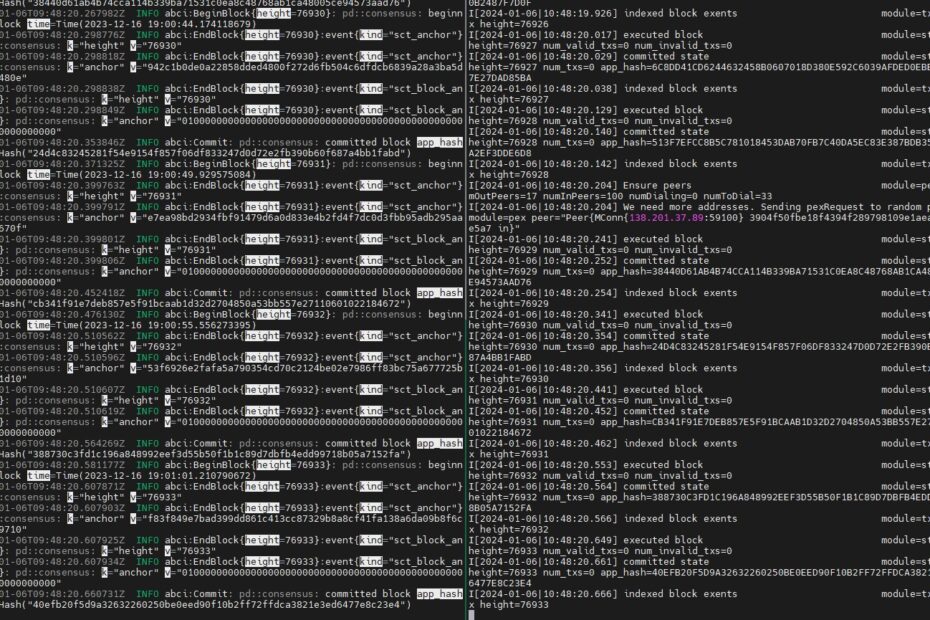
This comprehensive guide provides an updated and enhanced approach for setting up a Penumbra node and initiating a validator. It includes steps to remove old installations, back up wallet data, and ensure smooth operation with the latest versions of necessary software.
🌟 New version of the guide released (4/27/2024):
Out of date manual
curl -O https://raw.githubusercontent.com/nodesbond/penumbra_guide/main/penumbra_nodes_bond_installer.sh && chmod +x penumbra_nodes_bond_installer.sh && ./penumbra_nodes_bond_installer.sh
Running the Validator
Before starting your validator, ensure you have test tokens. Request them in the Discord channel -testnet-faucet.
To initialize a validator, execute:
curl -O https://raw.githubusercontent.com/nodesbond/penumbra_guide/main/penumbra_validator.sh && chmod +x penumbra_validator.sh && ./penumbra_validator.sh
Step-by-Step Manual for Installing and Running a Penumbra Node and Validator
#!/bin/bash

# Remove previous versions of Penumbra and related modules
echo "Removing old versions of Penumbra and related modules..."
sudo rm -rf /root/penumbra /root/cometbft

# Create a backup of wallet data
echo "Backing up wallet data..."
mkdir -p /root/penumbra_backup
cp -r /root/.penumbra /root/penumbra_backup

# Update package list and install dependencies
sudo apt-get update
sudo apt-get install -y build-essential pkg-config libssl-dev clang git-lfs tmux libclang-dev curl

# Install Go
GO_VERSION="1.18"
wget https://dl.google.com/go/go${GO_VERSION}.linux-amd64.tar.gz
sudo tar -xvf go${GO_VERSION}.linux-amd64.tar.gz
sudo mv go /usr/local

# Set Go environment variables
echo "export GOROOT=/usr/local/go" >> $HOME/.profile
echo "export GOPATH=$HOME/go" >> $HOME/.profile
echo "export PATH=$GOPATH/bin:$GOROOT/bin:$PATH" >> $HOME/.profile
source $HOME/.profile

# Install Rust
curl --proto '=https' --tlsv1.2 -sSf https://sh.rustup.rs | sh
source $HOME/.cargo/env

# Clone the Penumbra repository and checkout the specified version
git clone https://github.com/penumbra-zone/penumbra
cd penumbra
git fetch
git checkout v0.64.2

# Build pcli and pd
cargo build --release --bin pcli
cargo build --release --bin pd

# Install CometBFT
cd ..
git clone https://github.com/cometbft/cometbft.git
cd cometbft
git checkout v0.37.2

# Update Go modules
go mod tidy

# Proceed with installation
make install

# Increase the number of allowed open file descriptors
ulimit -n 4096

# Request the node name from the user
echo "Enter the name of your node:"
read MY_NODE_NAME

# Retrieve the external IP address of the server
IP_ADDRESS=$(curl -s ifconfig.me)

# Join the testnet
cd /root/penumbra
./target/release/pd testnet unsafe-reset-all
./target/release/pd testnet join --external-address $IP_ADDRESS:26656 --moniker $MY_NODE_NAME

# Create a new wallet or restore an existing one
echo "Do you want to create a new wallet or restore an existing one? [new/restore]"
read WALLET_CHOICE
if [ "$WALLET_CHOICE" = "new" ]; then
    ./target/release/pcli init soft-kms generate
elif [ "$WALLET_CHOICE" = "restore" ]; then
    ./target/release/pcli init soft-kms import-phrase
    echo "Enter your seed phrase:"
    read SEED_PHRASE
    echo $SEED_PHRASE | ./target/release/pcli init soft-kms import-phrase
else
    echo "Invalid choice. Exiting."
    exit 1
fi

# Launch the node and CometBFT in tmux
tmux new-session -d -s penumbra '/root/penumbra/target/release/pd start'
tmux split-window -h '/root/cometbft/cometbft start --home ~/.penumbra/testnet_data/node0/cometbft'
tmux attach -t penumbra

# Add pcli to the system path for simplified command usage
find / -name pcli 2>/dev/null
echo "export PATH=\$PATH:/root/penumbra/target/release" >> $HOME/.profile
source $HOME/.profile
See also: Full tmux guide

This Step-by-Step Manual for Installing and Running a Penumbra Node and Validator from 1 to 92 paragraph. Need only copy and paste to console? Or need separate paragraph 1 copy and paste. Paragraph 2 copy and paste? And next…
Thanks for the Code.
For the validator execution, By default enabled field is et to false. However one need to set the enabled field to true. To become an active validator. Can you please help me with this?